In part 4 of the series we explored combining Shared Element Transitions with RecyclerView.
In part 5 we're going to fix the white flashing or blinking that you may have seen throughout the series during the transition from screen to screen.
This part was going to be longer but I was slowed down by what I think is a bug that I found on my Nexus 6P on 7.1.2. My advice, therefore, for this part, is to make sure the device you're using is NOT on 7.1.2. Just in case you run into the same issues I did.
Going back to the start
"What flashing and blinking?" I might hear you say. Take a look at this video and pay attention to the status bar, navigation bar and action bar.
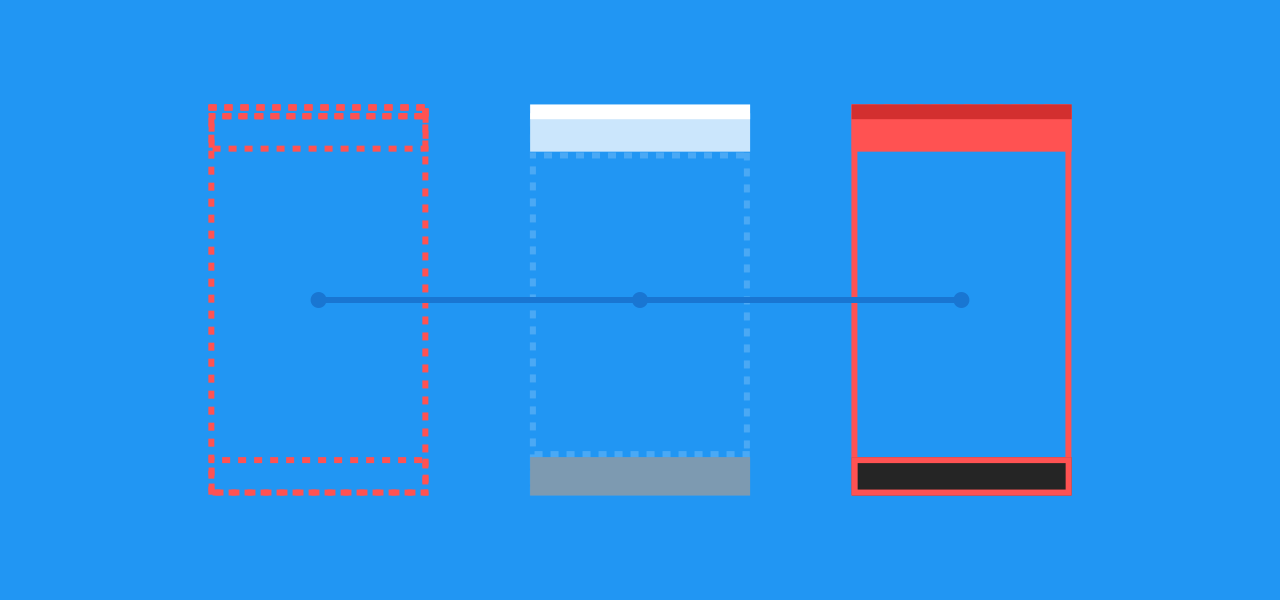
In part 1 I mentioned that Shared Element Transitions take part in the windows ViewOverlay. This ViewOverlay sits on top of everything including the status bar and the navigation bar. It is also where the Shared Element Transitions take place. So when we do our Shared Element Transition, the first and second window are animating (typically a fade) and that's why we get the white flashing; the alpha is animating out on the first screen and animating in on the second screen. So how do we get around this? We need to exclude the views we don't want animating during the Shared Element Transition by excluding them from the window transition.
For the next few examples I've added in a Toolbar as I believe a lot of you will be using one. It's something else that needs to be taken into consideration as well.
Fixing Flashing with Activities
Programmatic
Our ProgrammaticActivityA is setup exactly the same way that the other Activity example have been in regards to Shared Element Transitions so head back and take a look if you haven't already. The key part is this next piece of code:
@Override
    protected void onCreate(Bundle savedInstanceState) {
        super.onCreate(savedInstanceState);
        setContentView(R.layout.activity_flash_fix_a);
        Toolbar toolbar = (Toolbar) findViewById(R.id.toolbar);
        setSupportActionBar(toolbar);

        if (Build.VERSION.SDK_INT >= Build.VERSION_CODES.LOLLIPOP) {
            Fade fade = new Fade();
            fade.excludeTarget(R.id.appBar, true);
            fade.excludeTarget(android.R.id.statusBarBackground, true);
            fade.excludeTarget(android.R.id.navigationBarBackground, true);

            getWindow().setEnterTransition(fade);
            getWindow().setExitTransition(fade);
        }

        //Button setup
    }
Line 8 we do our obligatory check to make sure we're on 21+. Line 9 we create a Fade Transition (Note it can be any type of Transition you like). It's this Transition where we're going to add the views that we want to exclude. First up on line 10 is the AppBarLayout that contains our Toolbar. We call excludeTarget on the Fade which can take a String, View, Class or the id of the view as it's first parameter. We're going to be using the id. If you add the id of the Toolbar instead of the AppBarLayout then it won't work. See Nick Butcher's comment for why this is the case. The second parameter it takes is a boolean which sets whether we want to exclude it or not. We're going to be setting this to true on all our calls as we want to exclude them.
Line 11 and 12 we add the id for the statusBarBackground and the navigationBarBackground by accessing the android resources. Again, we set the second parameter to true.
Finally we set the Fade as the enter transition and exit transition for our ProgrammaticActivityA.
ProgrammaticActivityB has the exact same code as above, so I won't repeat it here. But you can go see this for yourself in the source code. And that's all that's needed when doing it programmatically.
XML
We can also solve this problem by creating a transition in XML and applying that through a theme to our activities. So first we need to add aTransition into a transition package in our resources directory.
<fade xmlns:android="http://schemas.android.com/apk/res/android">
    <targets>
        <target android:excludeId="@android:id/statusBarBackground" />
        <target android:excludeId="@android:id/navigationBarBackground" />
        <target android:excludeId="@id/appBar" />
    </targets>
</fade>
Here in this default_window_fade XML we have a Fade Transition. Within this we add our targets for exclusion, much like the above programmatic example.
Next we need to create a theme to apply the default_window_fade to our Activity themes. In the styles.xml we add the following:
    <style name="AppTheme.NoActionBar.DefaultActivity">
        <item name="android:windowEnterTransition">@transition/default_window_fade</item>
        <item name="android:windowExitTransition">@transition/default_window_fade</item>
    </style>
Here we're simply setting the enter and exit Transition of the window to be our default_window_fade.
Lastly we need to set this as the theme for our FlashFixActivityA and FlashFixActivityB in the manifest.
        <activity
            android:name=".flash_fix.xml_activity.FlashFixXmlActivityA"
            android:theme="@style/AppTheme.NoActionBar.DefaultActivity" />
        <activity
            android:name=".flash_fix.xml_activity.FlashFixXmlActivityB"
            android:theme="@style/AppTheme.NoActionBar.DefaultActivity" />
And that's all that's needed. Again, the code for the Activity looks identical to those used in a previous post.
Fragment doesn't seem to suffer the same issues as Activity when it come to the blinking and flashing, at least with the status and navigation bar. I believe this is likely due to it's ViewOverlay being confined to the content area of the holding Activity. If this does occur for you please let me know and provide an example. I believe that if it is a problem for you it may be remedied by supplying an XML Transition like above as part of the FragmentTransaction
With all this done the status bar and navigation bar should no longer flash/blink!
Source code can be found here under the flash_fix package.
This is obviously applicable to the RecyclerView examples in part 4, but I'll leave it as an exercise to you. It should be easy to implement with the above code.
I want to move into more complex examples, so my next post may not be out for a few weeks. If there's anything you want to see specifically and you think it can be of use to a lot of people then please let me know.
